
Setting Up the Best PS2 Emulator on Your PC: A Step-by-Step Tutorial for PCSX2
Prepare your PC and get ready to run your nostalgic PS2 titles flawlessly with PCSX2.
Emulation is one of the greatest ways to relive the magic of console’s past. Whether you’re new to gaming, or a seasoned veteran, emulation can be a daunting task to those who are unfamiliar with the technology and processes involved. This sole reason is why multiple devices exist today that emulate retro consoles. The process can be made much easier when broken down in to steps, which is what this guide intends to do. Prepare your PC and get ready to run your nostalgic PS2 titles flawlessly with PCSX2.
Step 1: Choosing the Right PS2 Emulator
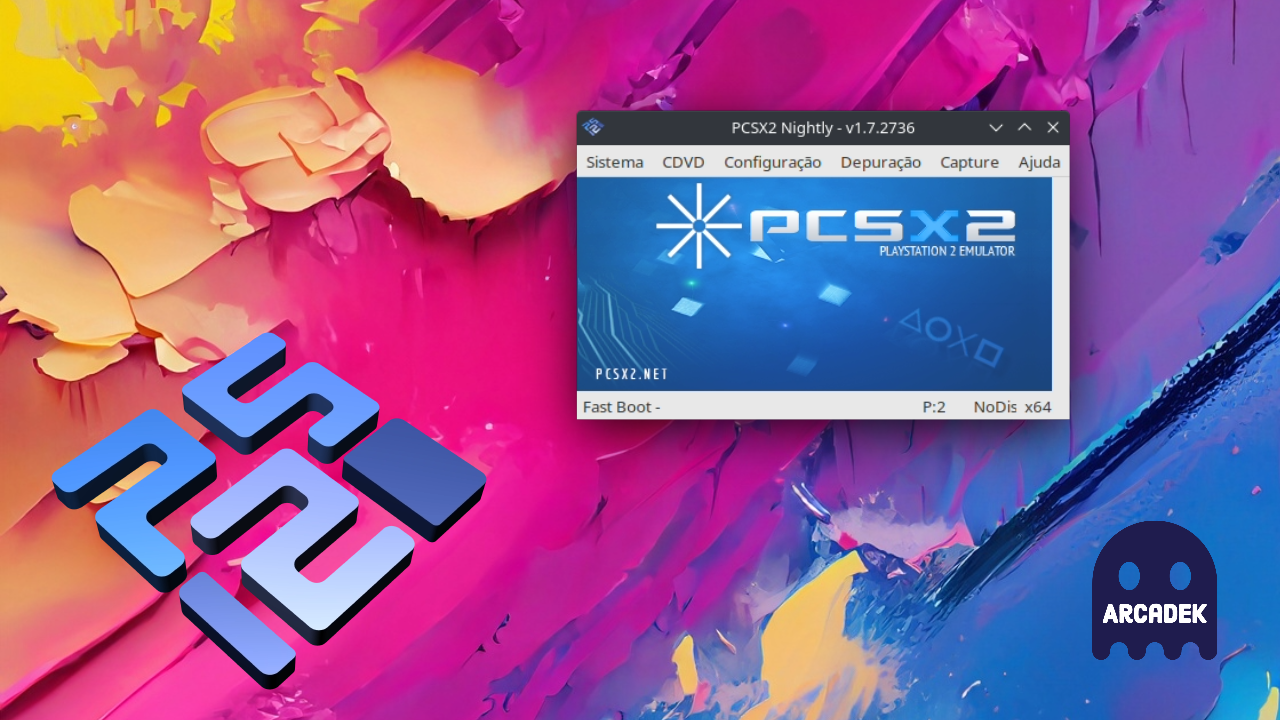
There are a variety of PlayStation 2 emulators available for PC. Some of the most popular ones include Play!, PS2emu, and PCSX2. By far, PCSX2 is one of the most reliable options due to its compatibility with most devices and regular updates. You can visit the PCSX2 website and download the latest version that’s stable and suitable for whatever operating system you intend to emulate on.
Step 2: Installing the Emulator
Once the download is complete, run the installation wizard and follow the on-screen instructions to install PCSX2 on your PC. Make sure to select the appropriate components required for your system configuration during the installation process.
Step 3: Obtaining the PS2 BIOS
The BIOS is crucial for running the PS2 emulator correctly. However, it's essential to note that downloading the PS2 BIOS from the internet could potentially violate copyright laws. Therefore, it's best to extract the BIOS from your own PS2 console, though there are websites that provide the BIOS for consumers to download directly. Once you boot up PCSX2, you will click Settings, BIOS, then select the folder for your downloaded BIOS file. You can find a direct tutorial here.
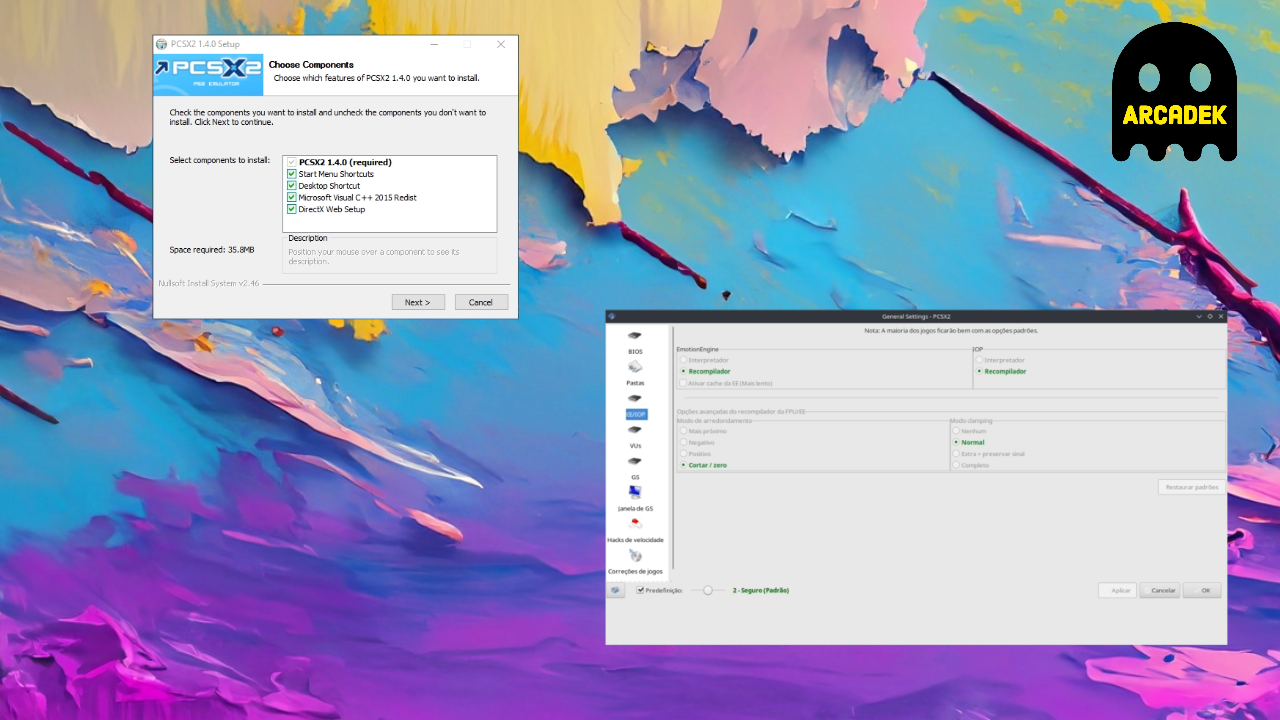
Step 4: Configuring the Emulator
After installing PCSX2 and obtaining the BIOS, you are ready to make some customizations to it. During the first launch, you'll be prompted to configure the emulator settings. Don't worry; it's not as daunting as it seems. Follow these steps:
a. Graphics Settings:
Go to "Config" > "Video (GS)" > "Plugin Settings." Choose the appropriate renderer for your GPU (OpenGL or DirectX). If you're not sure, try both to see which one works best for your system. You can also adjust the internal resolution to enhance the graphics of your games.
b. Controller Settings:
Connect your controller to your PC, and then go to "Config" > "Controllers (PAD)" > "Plugin Settings." Configure the buttons according to your preference. For the best experience, use a gamepad that closely resembles the original PS2 controller.
c. Audio Settings:
Navigate to "Config" > "Audio (SPU2)" > "Plugin Settings." Here, you can choose the audio plugin and adjust the settings accordingly.
Installing Plugins (Optional)
To enhance the performance of PCSX2, you can install various plugins. Some of the popular plugins include:
GSDX:
This plugin is responsible for graphics rendering and provides various customization options for improving visual quality.
SPU2-X:
This audio plugin offers better sound emulation and supports various audio configurations.
LilyPad:
For enhanced controller support, install LilyPad, a versatile input plugin that supports keyboard, mouse, and gamepad inputs.
To install plugins, simply download them from the official PCSX2 website or other trusted sources and place the files in the appropriate plugin folders within the PCSX2 installation directory.
Step 5: Loading and Playing Games
Now that you've completed the setup and configuration, it's time to load and play your favorite PS2 games, To do this:
Insert your PS2 game disc into your PC's DVD drive (if you have a physical copy) or locate the ISO file of the game you wish to play.
Go to "CDVD" > "ISO Selector" and choose either "Browse" if you have the ISO file or "Plugin" if you want to use your DVD drive.
Once the game is loaded, click on "System" > "Boot CDVD (full)" to start the game.
Congratulations! You've successfully set up the best PS2 emulator on your PC, and now you can immerse yourself in the nostalgia of retro gaming!
We've covered the step-by-step process of setting up the best PS2 emulator on your PC. From choosing the right emulator and configuring it to installing BIOS, plugins, and controller settings, you're now well-equipped to enjoy a seamless gaming experience. So, grab your favorite PS2 titles, take a trip down memory lane, and experience the magic of retro gaming right on your own PC.
Comments ()